
Getting Started
- Choose Edit ▸ Point Editor and click the track or route in the list.
- The red line is the route; the right side lists the points and the strip below shows the elevation profile (red uphill, blue downhill, gray level).
- Pick a mode in the toolbar and work directly on the map.
- Press ⌘S (or the Save button) when you are done.
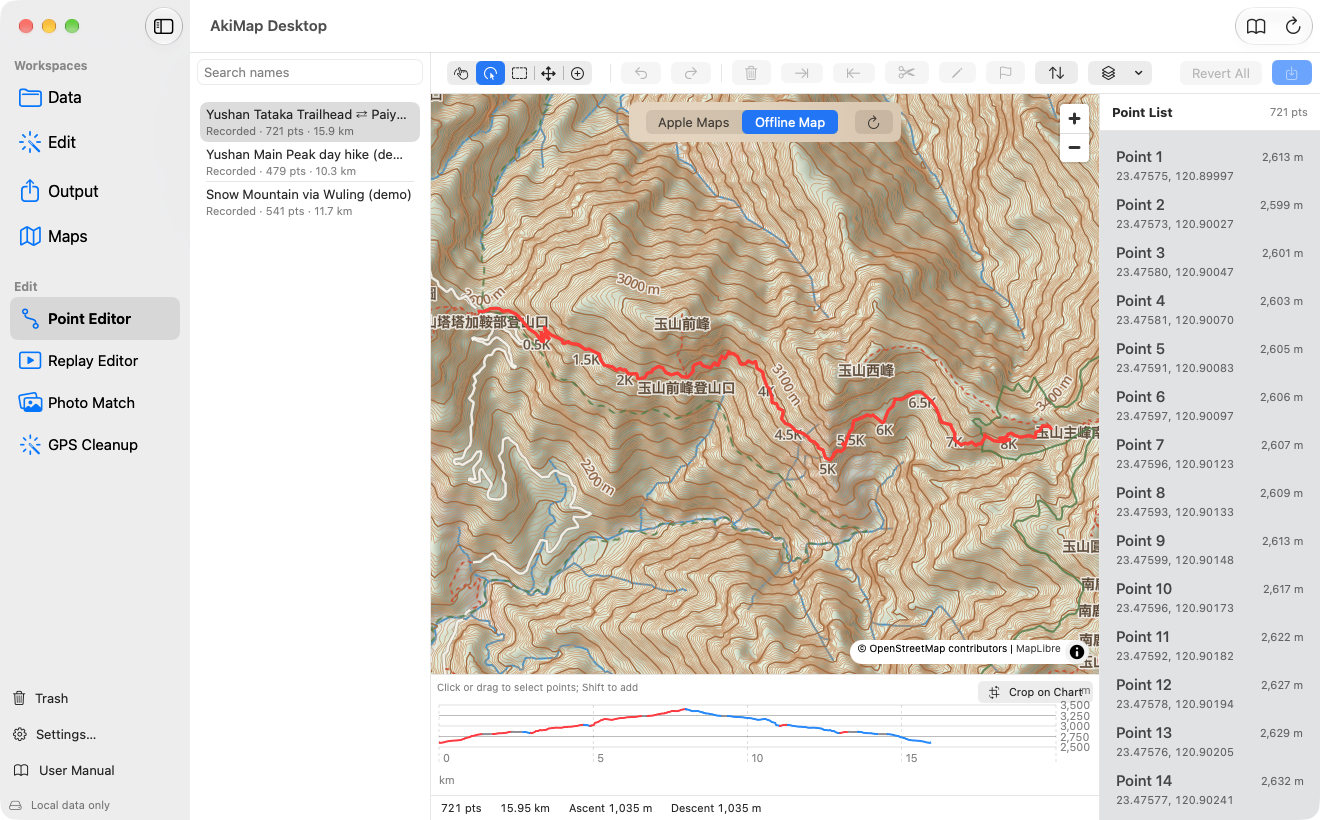
- 1Five modes: Pan, Select, Box Select, Move and Insert.
- 2Undo and redo.
- 3Delete the selected points.
- 4Trim the route before or after the selected point.
- 5Split into two at the selected point.
- 6Edit the selected point's coordinates and elevation.
- 7Make the selected point the start of a loop.
- 8Create a reversed copy.
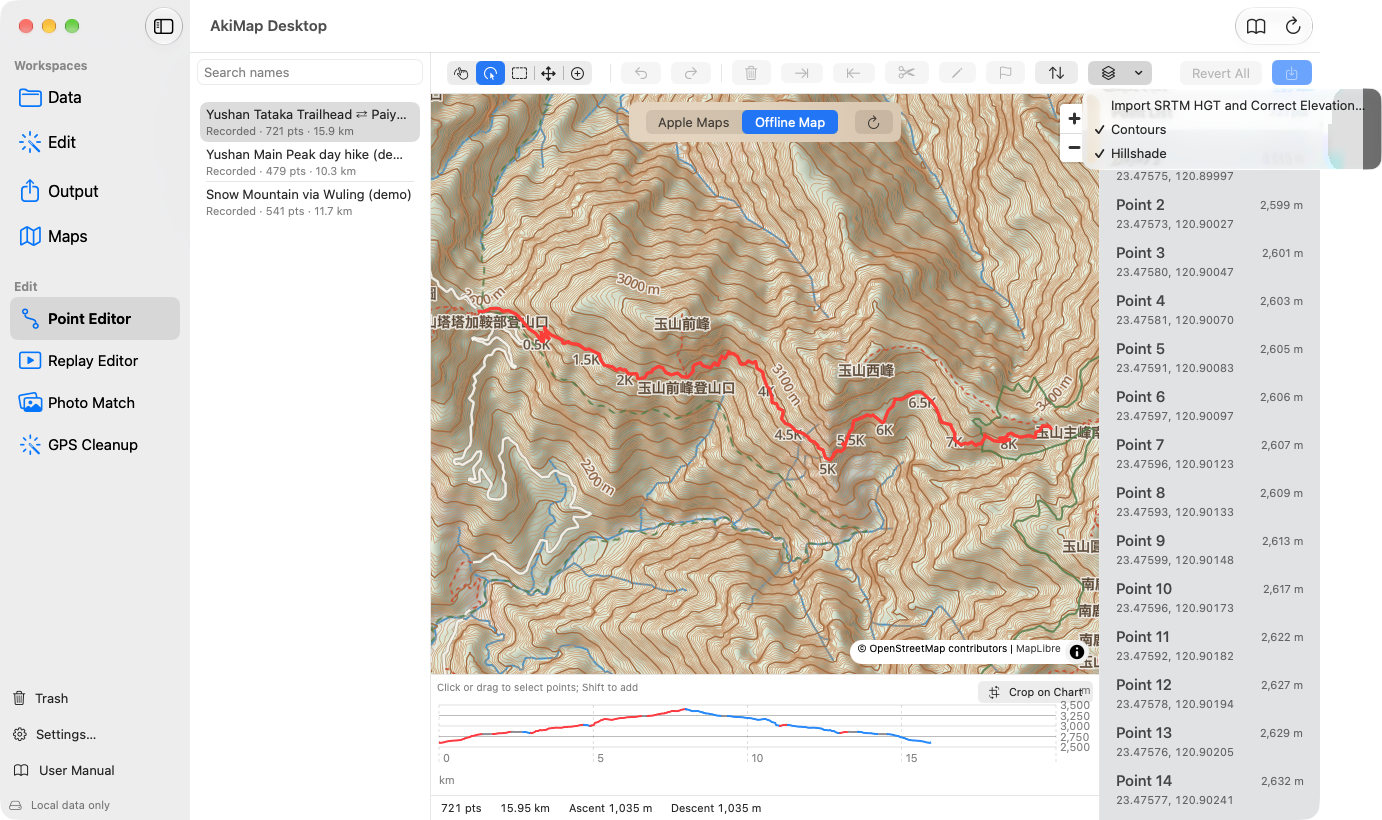
- 9Layers: contours, hillshade and SRTM elevation correction.
- 10Save.
- 11Elevation profile, coloured by slope: click or drag to select points.
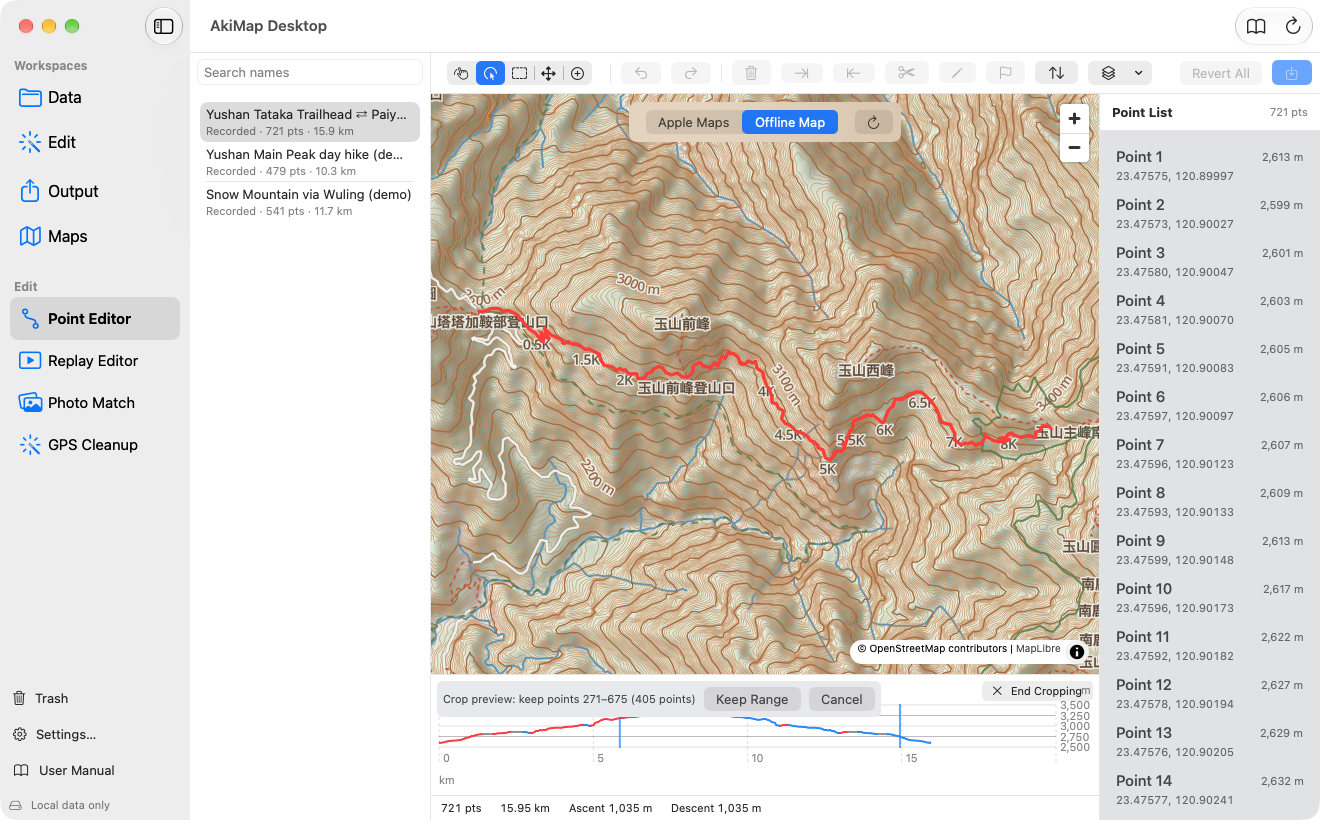
- 12Crop on Chart: drag across the profile to choose the part to keep.
- 13Point list: click to jump to a point, double-click to edit its coordinates and elevation.
The Five Modes
| Mode | How it works |
|---|---|
| Pan | Drag to move the map, scroll to zoom. |
| Select | Click a point to select it; ⇧-click adds to the selection. |
| Box Select | Drag a rectangle (shown as a dashed blue box) to select every point inside; hold ⇧ to add. |
| Move | Press a point and drag it to a new place. |
| Insert | Click near the route to add a point on the nearest segment. |
Pan
How it works:Drag to move the map, scroll to zoom.
Select
How it works:Click a point to select it; ⇧-click adds to the selection.
Box Select
How it works:Drag a rectangle (shown as a dashed blue box) to select every point inside; hold ⇧ to add.
Move
How it works:Press a point and drag it to a new place.
Insert
How it works:Click near the route to add a point on the nearest segment.
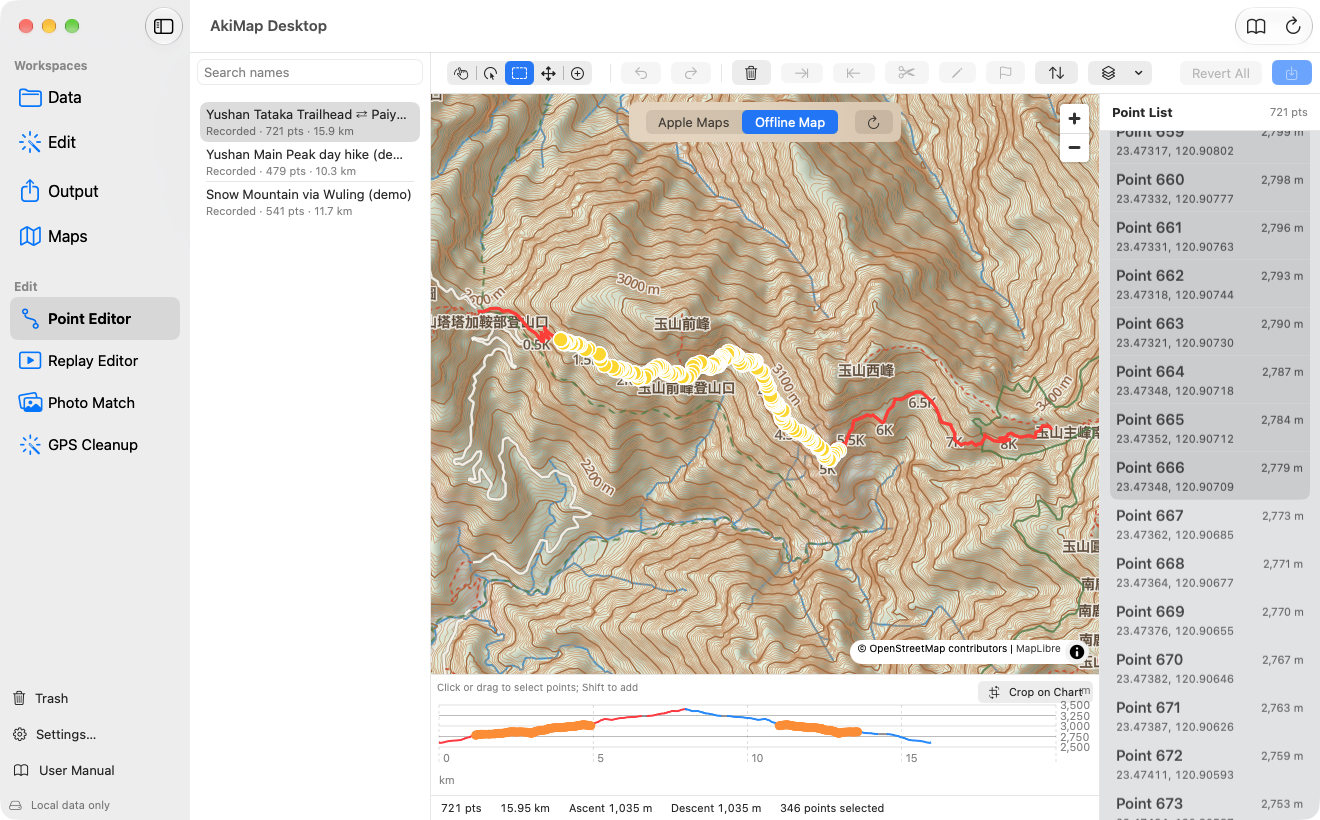
With a selection you can use the toolbar buttons:
- Delete Selected removes the selected points (some points must remain).
- Trim Start / Trim End work when exactly one point is selected and remove everything before or after it, useful for the start or end you forgot to stop recording.
- Split cuts the route in two at the selected point. After you confirm, the original keeps the first half and the second half becomes a new item “(name) (2)”; photos and waypoints stay with the original. This is written to iCloud immediately.
- Undo / Redo (⌘Z / ⇧⌘Z) can step all the way back. Revert All discards every change made in this session.
More Editing Tools
Edit One Point's Coordinates and Elevation
Select exactly one point and click “Edit Point” in the toolbar; you can also double-click the point in the list, or right-click it and choose “Edit Coordinates and Elevation…”. Enter latitude, longitude and elevation (meters) and click “Apply”. Latitude must be between −90 and 90 and longitude between −180 and 180, or Apply stays disabled.
Select and Crop on the Elevation Profile
- Click the elevation profile below to select that point, drag to select a stretch, and ⇧-click to add. The selection is shown on the map too.
- Click “Crop on Chart” at the top right of the profile, then drag across it to choose the part to keep. A preview reads “Crop preview: keep points a–b”; click “Keep Range” to remove everything outside it, or “Cancel”. Click “End Cropping” to return to normal selection.
- When you select points on the map or profile, the list scrolls to the last selected point.
Start Point and Reversing
- Make Start: for a loop whose ends are within 50 m of each other, select a point and click “Make Start”; the route is rotated to begin there and come back around.
- Reversed Copy makes a copy that runs the other way (the original is untouched) and clears its timestamps, so the copy's duration shows as 0. It is useful for turning an outbound route into the return. The copy is written to iCloud right away.
Correct Elevation with Offline Terrain
Phone elevation often drifts. You can correct it with SRTM .hgt terrain grids: open the toolbar's Layers menu and choose “Import SRTM HGT and Correct Elevation…”, then pick one or more .hgt files that cover the route (names like N24E121.hgt, one per 1°×1° cell). The app keeps them in an offline terrain folder, replaces every point's elevation with the interpolated grid value, and reports “Imported N HGT grids, corrected a/b points; c points have no coverage data”. You still need to Save, and Undo works.
Saving and Unsaved Changes
- An “Unsaved” indicator shows while changes have not been written yet.
- Saving overwrites the track and syncs to the iPhone. To keep the original, duplicate it first in Tracks or File Manager.
- If you switch to another item with unsaved changes, you are asked to “Keep Editing” or “Discard Changes and Switch”.
- At least 2 points are needed to save.
Screens may vary by app version. See Support and FAQ if you need help. Support